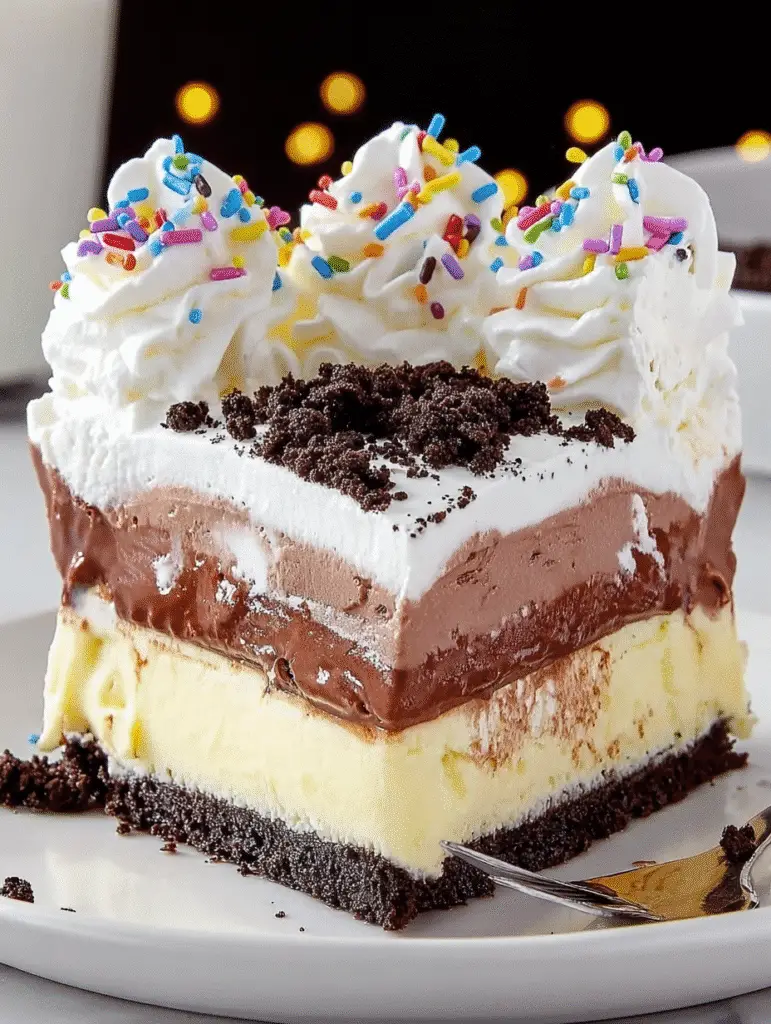
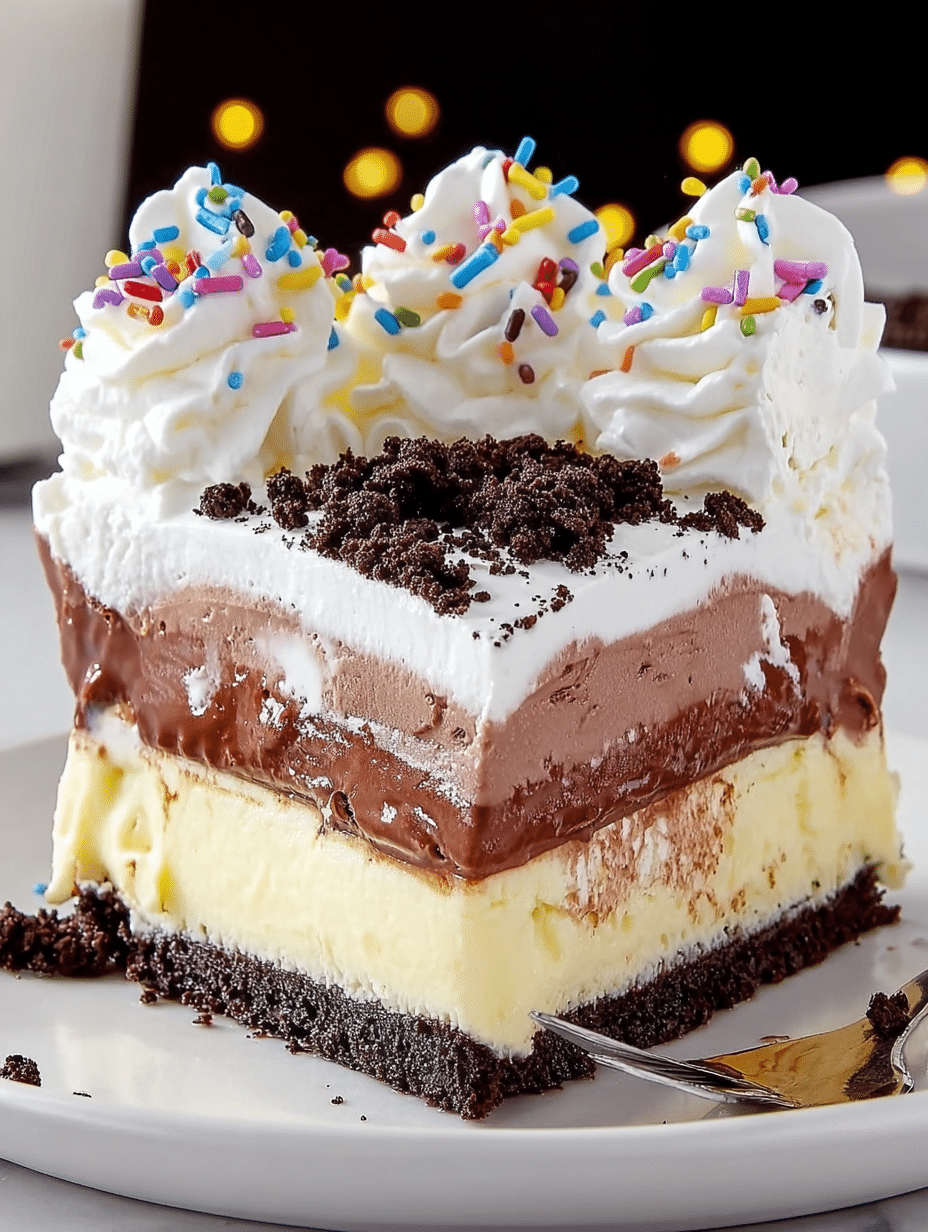
Introduction to Homemade Dairy Queen Ice Cream Cake
Ah, the joy of a Homemade Dairy Queen Ice Cream Cake! It’s like a sweet hug on a plate, perfect for any occasion. Whether it’s a birthday, a family gathering, or just a Tuesday that needs a little sparkle, this cake is a delightful treat. I remember the first time I made it; the smiles on my loved ones’ faces were priceless. This recipe is not just easy to whip up, but it also brings a nostalgic taste of summer to your kitchen. Trust me, you’ll want to keep this one in your back pocket!
Why You’ll Love This Homemade Dairy Queen Ice Cream Cake
This Homemade Dairy Queen Ice Cream Cake is a game-changer! It’s incredibly easy to make, requiring no baking at all. You can whip it up in just a few simple steps, making it perfect for busy days or last-minute celebrations. Plus, the combination of creamy ice cream and crunchy Oreo crust is simply irresistible. Each bite is a delightful explosion of flavor that will have everyone asking for seconds!
Ingredients for Homemade Dairy Queen Ice Cream Cake
Gathering the right ingredients is the first step to creating your Homemade Dairy Queen Ice Cream Cake. Here’s what you’ll need:
- Oreo cookies: These crushed cookies form the delicious crust. You can use any chocolate sandwich cookie if you prefer.
- Unsalted butter: Melted butter helps bind the Oreo crumbs together, creating a sturdy base.
- Hot fudge sauce: This gooey layer adds a rich chocolate flavor. Feel free to use store-bought or homemade!
- Vanilla ice cream: Softened slightly for easy spreading, this layer brings a classic flavor to the cake.
- Chocolate ice cream: Just like the vanilla, it should be softened. This layer adds a delightful contrast.
- Heavy cream: Whipped to perfection, this will be your fluffy topping. You can substitute with Cool Whip for convenience.
- Powdered sugar: A touch of sweetness for the whipped cream, making it extra delightful.
- Vanilla extract: Just a splash enhances the flavor of the whipped cream.
- Extra Oreo crumbs: These are for garnishing, adding a nice crunch on top.
- Whipped cream swirls: For decoration, they make the cake look extra special.
- Rainbow sprinkles: These add a fun, festive touch. You can swap them for chocolate sprinkles if you prefer.
For exact quantities, check the bottom of the article where you can find everything available for printing. Happy baking!

How to Make Homemade Dairy Queen Ice Cream Cake
Step 1: Prepare the Oreo Crust
Let’s kick things off by making the crust! In a bowl, mix the crushed Oreo cookies with melted butter until it resembles wet sand. This mixture should hold together when pressed. Grab a 9×13-inch pan or a springform pan, and firmly press the Oreo mixture into the bottom. Make sure it’s even and compact. Then, pop it in the freezer for about 15 minutes to set. Trust me, this crust is the foundation of your Homemade Dairy Queen Ice Cream Cake!
Step 2: Add Vanilla Ice Cream Layer
Next up, it’s time for the vanilla ice cream layer! Take your softened vanilla ice cream and spread it evenly over the chilled Oreo crust. Use a spatula to smooth it out, making sure it covers every corner. This layer is like a creamy cloud on top of your crunchy base. Once it’s all spread out, return the pan to the freezer for 30 to 40 minutes. We want it to firm up nicely before the next layer!
Step 3: Apply Hot Fudge Layer
Now, let’s add that luscious hot fudge layer! Warm the hot fudge sauce slightly in the microwave, just enough to make it spreadable but not runny. Carefully pour it over the frozen vanilla ice cream layer, spreading it evenly. This gooey goodness adds a rich chocolate flavor that pairs perfectly with the ice cream. Sprinkle some extra Oreo crumbs on top for that added crunch, then freeze for another 20 minutes. Your Homemade Dairy Queen Ice Cream Cake is coming together beautifully!
Step 4: Add Chocolate Ice Cream Layer
It’s time for the star of the show: the chocolate ice cream layer! Take your softened chocolate ice cream and spread it over the fudge layer. Use a spatula to create an even layer, just like you did with the vanilla. This chocolatey goodness will add depth to your cake. Once it’s all smoothed out, freeze the cake for at least 1 to 2 hours, or until it’s solid. Patience is key here, but it’ll be worth it!
Step 5: Prepare Whipped Cream Topping
Now, let’s whip up some magic with the whipped cream topping! In a mixing bowl, combine heavy cream, powdered sugar, and vanilla extract. Whip it until stiff peaks form. This fluffy topping is what makes your Homemade Dairy Queen Ice Cream Cake feel extra special. Once it’s ready, spread it evenly over the chocolate ice cream layer. Don’t be shy; make it nice and thick for that dreamy finish!
Step 6: Final Touches
We’re almost there! For the final touches, pipe swirls of whipped cream around the edges of the cake for a decorative flair. Then, sprinkle some crushed Oreos and rainbow sprinkles on top. These little details make your cake look festive and fun! Once you’ve added all the garnishes, freeze the cake for at least 4 hours, or overnight for the best results. Your Homemade Dairy Queen Ice Cream Cake is now ready to impress!
Tips for Success
- Let your ice cream soften for about 10 minutes before spreading; it makes layering easier.
- Use a spatula dipped in warm water to smooth out the ice cream layers.
- For a firmer cake, freeze overnight; it’s worth the wait!
- Feel free to mix in your favorite candies or nuts for a personal touch.
- Keep the cake covered in the freezer to maintain its freshness.
Equipment Needed
- Mixing bowl: A large bowl for combining ingredients. A smaller bowl works too!
- Spatula: Essential for spreading ice cream and whipped cream. A butter knife can work in a pinch.
- 9×13-inch pan or springform pan: Either will do for shaping your cake. A round cake pan is also an option.
- Whisk or electric mixer: For whipping cream. A hand whisk can suffice if you’re feeling adventurous!
Variations
- Cookie Crust: Swap out Oreos for graham crackers or chocolate chip cookies for a different flavor profile.
- Ice Cream Flavors: Experiment with different ice cream flavors like mint chocolate chip or strawberry for a fruity twist.
- Nutty Delight: Add chopped nuts like walnuts or pecans between the ice cream layers for a crunchy surprise.
- Healthier Option: Use low-fat ice cream and sugar-free hot fudge for a lighter version of this dessert.
- Vegan Version: Substitute dairy ice cream with coconut or almond milk ice cream and use vegan whipped cream.
Serving Suggestions
- Pair your Homemade Dairy Queen Ice Cream Cake with fresh berries for a fruity contrast.
- Serve with a drizzle of extra hot fudge or caramel sauce for added indulgence.
- Complement with a scoop of vanilla ice cream on the side for extra creaminess.
- For drinks, consider iced coffee or a refreshing lemonade to balance the sweetness.
- Present the cake on a colorful platter, garnished with mint leaves for a pop of color.
FAQs about Homemade Dairy Queen Ice Cream Cake
Can I make this Homemade Dairy Queen Ice Cream Cake ahead of time?
Absolutely! In fact, making it a day in advance is a great idea. It allows the layers to set properly, giving you a firmer cake. Just keep it covered in the freezer until you’re ready to serve.
What if I don’t have a springform pan?
No worries! A 9×13-inch pan works perfectly for this Homemade Dairy Queen Ice Cream Cake. You can also use any round cake pan; just be sure to line it with parchment paper for easy removal.
Can I use different ice cream flavors?
Definitely! Feel free to mix and match your favorite flavors. This Homemade Dairy Queen Ice Cream Cake is versatile, so chocolate, strawberry, or even coffee ice cream can add a fun twist!
How long can I store the cake in the freezer?
Your cake can last up to two weeks in the freezer if stored properly. Just make sure it’s well-covered to prevent freezer burn. You’ll want to enjoy it before then, though—it’s too delicious to resist!
Can I use Cool Whip instead of heavy cream?
Yes! Using Cool Whip is a fantastic shortcut. It saves time and still gives you that fluffy topping. Just follow the same steps for spreading it on top of your cake.
Final Thoughts
Creating a Homemade Dairy Queen Ice Cream Cake is more than just baking; it’s about making memories. Each layer tells a story, from the crunchy Oreo crust to the creamy ice cream and fluffy whipped topping. I love how this cake brings everyone together, sparking joy and laughter around the table. Whether it’s a special occasion or a simple treat, this cake never fails to impress. So, roll up your sleeves, gather your loved ones, and dive into this delightful adventure. Trust me, the smiles you’ll see will be worth every scoop!
Print
Homemade Dairy Queen Ice Cream Cake made easy today!
- Total Time: 4 hours 30 minutes
- Yield: 12 servings 1x
- Diet: Vegetarian
Description
A delicious and easy-to-make homemade version of the classic Dairy Queen Ice Cream Cake, featuring layers of Oreo crust, vanilla and chocolate ice cream, and a whipped cream topping.
Ingredients
- 24 Oreo cookies (crushed into fine crumbs)
- ½ cup unsalted butter (melted)
- 1 jar (11–12 oz) hot fudge sauce
- 1 quart vanilla ice cream (softened slightly)
- 1 quart chocolate ice cream (softened slightly)
- 2 cups heavy cream (or use 2 cups Cool Whip)
- ¼ cup powdered sugar
- 1 tsp vanilla extract
- Extra Oreo crumbs (for garnish)
- Whipped cream swirls (for garnish)
- Rainbow sprinkles (for garnish)
Instructions
- Mix crushed Oreos with melted butter until combined. Press firmly into the bottom of a 9×13-inch pan or springform pan. Freeze for 15 minutes.
- Spread softened vanilla ice cream evenly over the crust. Freeze again for 30–40 minutes until firm.
- Warm hot fudge slightly so it’s spreadable but not runny. Spread a thin, even layer over vanilla ice cream. Sprinkle extra Oreo crumbs on top. Freeze for 20 minutes.
- Spread softened chocolate ice cream on top of the fudge layer. Freeze at least 1–2 hours, or until solid.
- Whip heavy cream, powdered sugar, and vanilla until stiff peaks form. Spread evenly on top of cake.
- Pipe swirls of whipped cream around the edges. Sprinkle with crushed Oreos and rainbow sprinkles. Freeze at least 4 hours (overnight is best).
Notes
- For best results, allow the ice cream to soften slightly before spreading.
- Overnight freezing is recommended for a firmer cake.
- Feel free to customize the toppings with your favorite candies or nuts.
- Prep Time: 30 minutes
- Cook Time: 0 minutes
- Category: Dessert
- Method: No-Bake
- Cuisine: American
Nutrition
- Serving Size: 1 slice
- Calories: 350
- Sugar: 28g
- Sodium: 150mg
- Fat: 22g
- Saturated Fat: 12g
- Unsaturated Fat: 8g
- Trans Fat: 0g
- Carbohydrates: 36g
- Fiber: 1g
- Protein: 4g
- Cholesterol: 60mg


