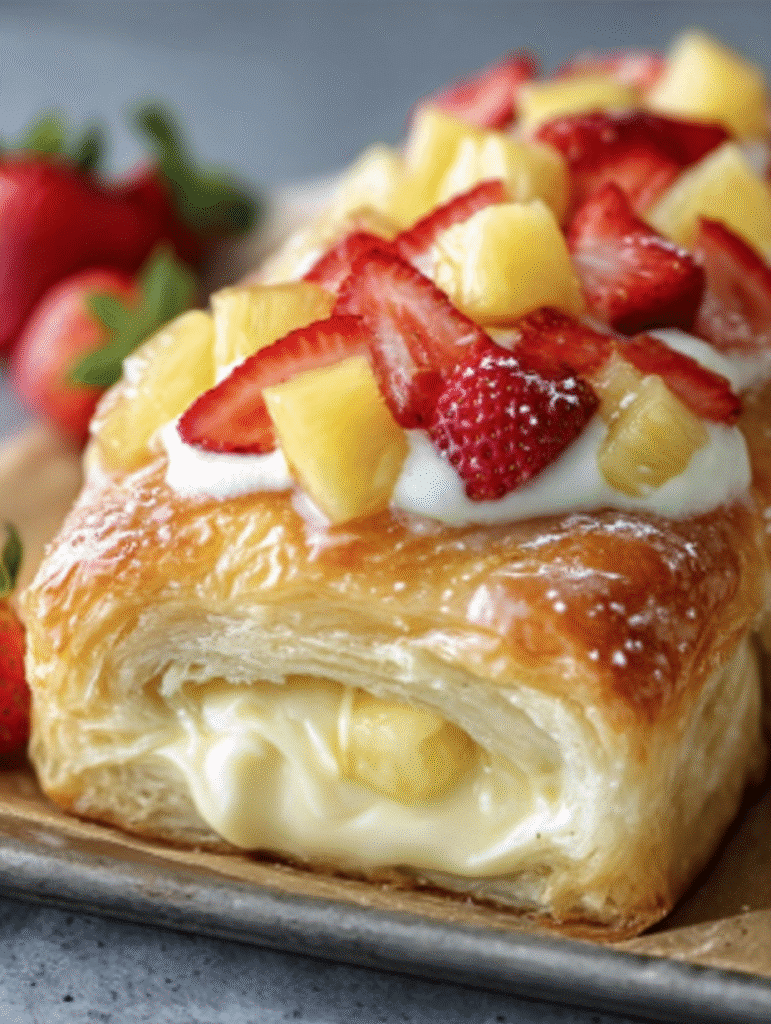
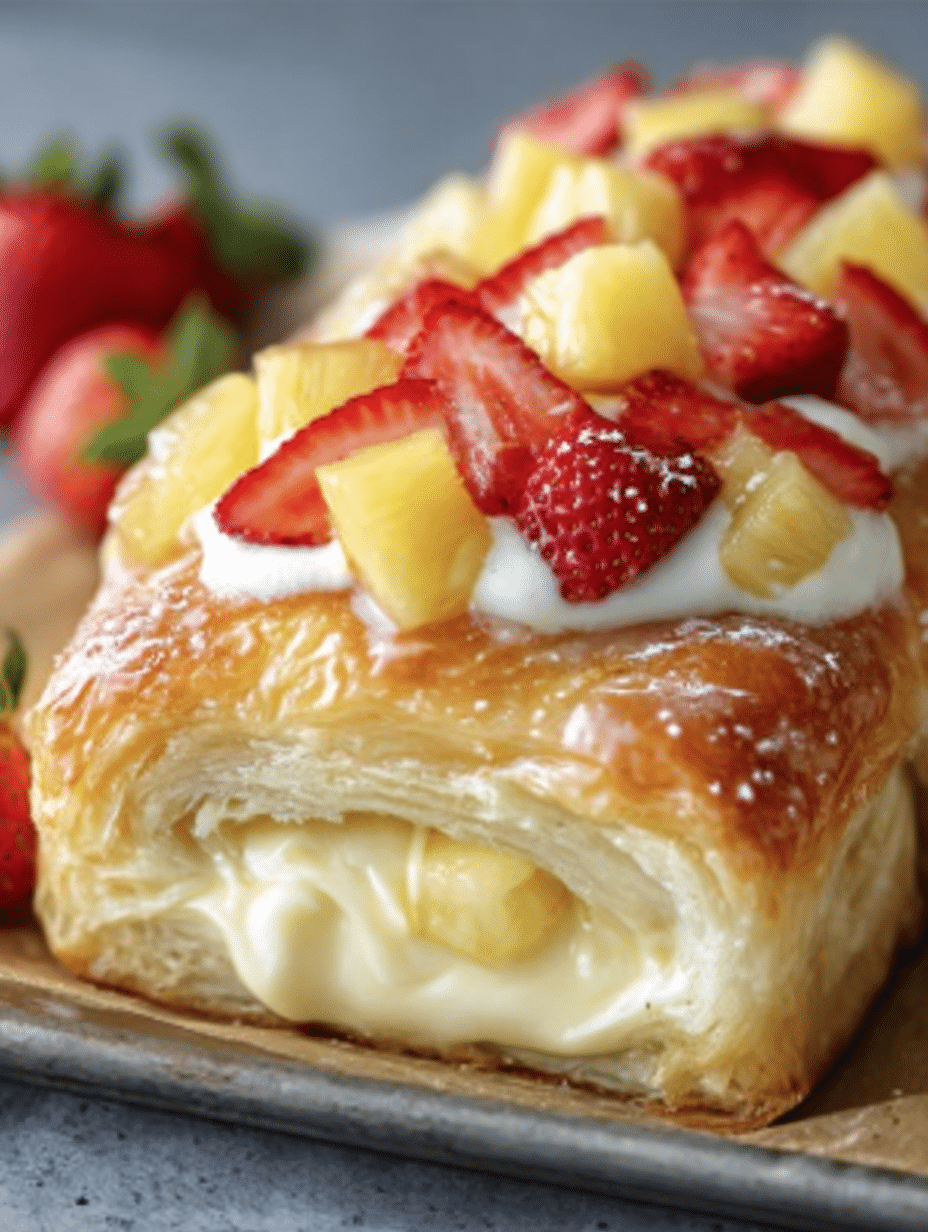
Introduction to King Hawaiian Cheesecake Danish
Welcome to the world of sweet indulgence! If you’re looking for a delightful treat that combines the fluffy goodness of King’s Hawaiian rolls with a creamy cheesecake filling, you’ve landed in the right place. The King Hawaiian Cheesecake Danish is not just a dessert; it’s a warm hug on a plate. Perfect for busy days or special gatherings, this recipe is a quick solution that will impress your loved ones. Trust me, once you take a bite, you’ll be transported to dessert heaven. Let’s dive into this sweet adventure together!
Why You’ll Love This King Hawaiian Cheesecake Danish
This King Hawaiian Cheesecake Danish is a game-changer in the dessert world! It’s incredibly easy to whip up, making it perfect for those hectic days when you crave something sweet. The combination of soft, sweet rolls and rich cheesecake filling creates a flavor explosion that will leave your taste buds dancing. Plus, it’s a crowd-pleaser, so you can impress family and friends without breaking a sweat. What’s not to love?
Ingredients for King Hawaiian Cheesecake Danish
Gathering the right ingredients is the first step to creating this delicious King Hawaiian Cheesecake Danish. Here’s what you’ll need:
- King’s Hawaiian sweet rolls: These soft, sweet rolls are the star of the show, providing a fluffy base for your cheesecake filling.
- Unsalted butter: Melted butter adds richness and helps achieve that golden-brown top. You can use salted butter if that’s what you have on hand.
- Cream cheese: The creamy heart of the cheesecake filling. Make sure it’s softened for easy mixing. Full-fat cream cheese gives the best flavor.
- Granulated sugar: This sweetens the filling, balancing the tanginess of the cream cheese.
- Egg yolk: It adds richness and helps bind the filling together, giving it a smooth texture.
- Vanilla extract: A splash of vanilla enhances the overall flavor, making it even more delightful.
- Pineapple tidbits: These add a burst of tropical sweetness. Make sure they’re well-drained to avoid a soggy filling.
- Fresh strawberries: Sliced strawberries bring a pop of color and freshness to the topping.
- Fresh pineapple chunks: These complement the cheesecake filling beautifully, adding a juicy texture.
- Whipped cream or sweetened cream cheese topping: This optional layer adds a light, fluffy finish to your Danish.
- Powdered sugar: A light dusting of powdered sugar is optional but adds a lovely touch of sweetness and elegance.
For exact measurements, check the bottom of the article where you can find everything listed for easy printing. Happy cooking!
How to Make King Hawaiian Cheesecake Danish
Now that we have our ingredients ready, let’s dive into the fun part—making the King Hawaiian Cheesecake Danish! Follow these simple steps, and you’ll have a delicious dessert that will wow everyone.
Step 1: Preheat the Oven
First things first, preheat your oven to 350°F (175°C). This ensures it’s nice and hot when your Danish goes in, helping it bake evenly and achieve that golden-brown perfection.
Step 2: Prepare the Rolls
Next, grab your package of King’s Hawaiian rolls. Slice them in half horizontally, but don’t separate them completely. Place the bottom half in a greased or parchment-lined baking dish. This will be the cozy base for your cheesecake filling.
Step 3: Make the Cheesecake Filling
In a mixing bowl, beat together the softened cream cheese, granulated sugar, egg yolk, and vanilla extract until it’s smooth and creamy. This is where the magic happens! Once it’s well combined, gently fold in the drained pineapple tidbits. This adds a delightful tropical twist to your filling.
Step 4: Assemble the Danish
Now it’s time to spread that luscious cheesecake filling evenly over the bottom layer of rolls. Make sure to cover every inch! Once that’s done, place the top layer of rolls back on. It’s like a sweet sandwich waiting to be baked!
Step 5: Bake
Brush the tops of the rolls with melted butter. This will give them a beautiful, golden color as they bake. Pop the dish into the oven and bake for 22–25 minutes. Keep an eye on it; you want it to be golden brown and set, not burnt!
Step 6: Cool and Top
Once baked, let your King Hawaiian Cheesecake Danish cool slightly. This is the hardest part—waiting! After it cools, spread a thin layer of whipped cream or sweetened cream cheese topping on top. Finally, arrange the sliced strawberries and pineapple chunks over the surface. It’s a feast for the eyes and the taste buds!
Tips for Success
- Make sure your cream cheese is at room temperature for easy mixing.
- Drain the pineapple tidbits thoroughly to prevent a soggy filling.
- For a fun twist, try adding shredded coconut to the cheesecake filling.
- Keep an eye on the baking time; ovens can vary.
- Serve warm for a gooey, delightful experience!
Equipment Needed
- Baking dish: A 9×13 inch dish works perfectly. You can also use a smaller dish if you want thicker layers.
- Mixing bowl: Any large bowl will do for mixing the cheesecake filling.
- Electric mixer: A hand mixer makes it easy, but a whisk works too if you’re feeling strong!
- Spatula: A rubber spatula is great for spreading the filling evenly.
- Measuring cups and spoons: Essential for accurate ingredient measurements.
Variations of King Hawaiian Cheesecake Danish
- Berry Bliss: Swap out the strawberries and pineapple for a mix of blueberries and raspberries for a tangy twist.
- Coconut Cream: Add shredded coconut to the cheesecake filling for a tropical flair that pairs beautifully with the King’s Hawaiian rolls.
- Chocolate Drizzle: Drizzle melted chocolate over the top after adding the whipped cream for a decadent touch.
- Nutty Crunch: Sprinkle chopped nuts, like pecans or almonds, on top for added texture and flavor.
- Gluten-Free Option: Use gluten-free sweet rolls to make this dessert suitable for those with gluten sensitivities.
Serving Suggestions for King Hawaiian Cheesecake Danish
- Pair with a scoop of vanilla ice cream for a delightful contrast in temperature and texture.
- Serve alongside a fresh fruit salad to enhance the fruity flavors of the Danish.
- Drizzle with caramel or chocolate sauce for an extra touch of sweetness.
- Enjoy with a cup of coffee or tea for a cozy afternoon treat.
- Present on a beautiful platter, garnished with mint leaves for a pop of color.

FAQs about King Hawaiian Cheesecake Danish
Can I make King Hawaiian Cheesecake Danish ahead of time?
Absolutely! You can prepare the cheesecake filling and assemble the Danish a day in advance. Just cover it tightly and store it in the fridge. Bake it fresh when you’re ready to serve for the best taste!
What can I use instead of cream cheese?
If you’re looking for a lighter option, you can substitute cream cheese with Greek yogurt or mascarpone cheese. Both will give you a creamy texture, but the flavor will vary slightly.
How do I store leftovers?
Store any leftovers in an airtight container in the refrigerator. It’s best enjoyed within a day or two, but it can last up to three days. Just reheat it gently in the oven for a warm treat!
Can I freeze King Hawaiian Cheesecake Danish?
Yes, you can freeze it! Wrap individual pieces tightly in plastic wrap and then place them in a freezer-safe container. Thaw in the fridge overnight before enjoying.
What drinks pair well with this dessert?
This King Hawaiian Cheesecake Danish pairs wonderfully with a cup of coffee or a refreshing iced tea. For a special touch, try serving it with a tropical smoothie!
Final Thoughts
Creating the King Hawaiian Cheesecake Danish is more than just baking; it’s about sharing joy and sweetness with those you love. Each bite is a delightful blend of flavors and textures that brings smiles to faces and warmth to hearts. Whether it’s a casual family gathering or a special celebration, this dessert is sure to be the star of the show. I hope you enjoy making it as much as I do. So, roll up your sleeves, gather your ingredients, and let the sweet adventure begin. Trust me, your taste buds will thank you!
PrintKing Hawaiian Cheesecake Danish: A Sweet Delight Awaits!
- Total Time: 40 minutes
- Yield: 12 servings 1x
- Diet: Vegetarian
Description
A delightful dessert combining the sweetness of King’s Hawaiian rolls with a creamy cheesecake filling and fresh fruit toppings.
Ingredients
- 1 package King’s Hawaiian sweet rolls (12-count, unsliced)
- 2 tbsp unsalted butter, melted
- 225 g (8 oz) cream cheese, softened
- ⅓ cup granulated sugar
- 1 large egg yolk
- 1 tsp vanilla extract
- ½ cup pineapple tidbits, well-drained
- ½ cup fresh strawberries, sliced
- ½ cup fresh pineapple chunks
- ½ cup whipped cream or sweetened cream cheese topping
- Powdered sugar (optional, for dusting)
Instructions
- Preheat oven to 175°C (350°F).
- Without separating, slice the King’s Hawaiian rolls in half horizontally (like making a sheet cake).
- Place the bottom half in a greased or parchment-lined baking dish.
- In a bowl, beat cream cheese, sugar, egg yolk, and vanilla until smooth and creamy.
- Fold in drained pineapple tidbits.
- Spread the cheesecake filling evenly over the bottom layer of rolls.
- Place the top layer of rolls back on.
- Brush tops with melted butter.
- Bake for 22–25 minutes, until golden brown and set.
- Let cool slightly before adding toppings.
- Spread a thin layer of whipped cream (or extra sweet cream cheese topping) on top.
- Arrange sliced strawberries and pineapple chunks over the surface.
- Dust lightly with powdered sugar if desired.
Notes
- Ensure the pineapple tidbits are well-drained to avoid a soggy filling.
- For a richer flavor, use full-fat cream cheese.
- This dessert is best served fresh but can be stored in the refrigerator for a day.
- Prep Time: 15 minutes
- Cook Time: 25 minutes
- Category: Dessert
- Method: Baking
- Cuisine: American
Nutrition
- Serving Size: 1 piece
- Calories: 250
- Sugar: 15g
- Sodium: 180mg
- Fat: 12g
- Saturated Fat: 7g
- Unsaturated Fat: 3g
- Trans Fat: 0g
- Carbohydrates: 30g
- Fiber: 1g
- Protein: 4g
- Cholesterol: 40mg


